Water play time

L working on her pouring skills

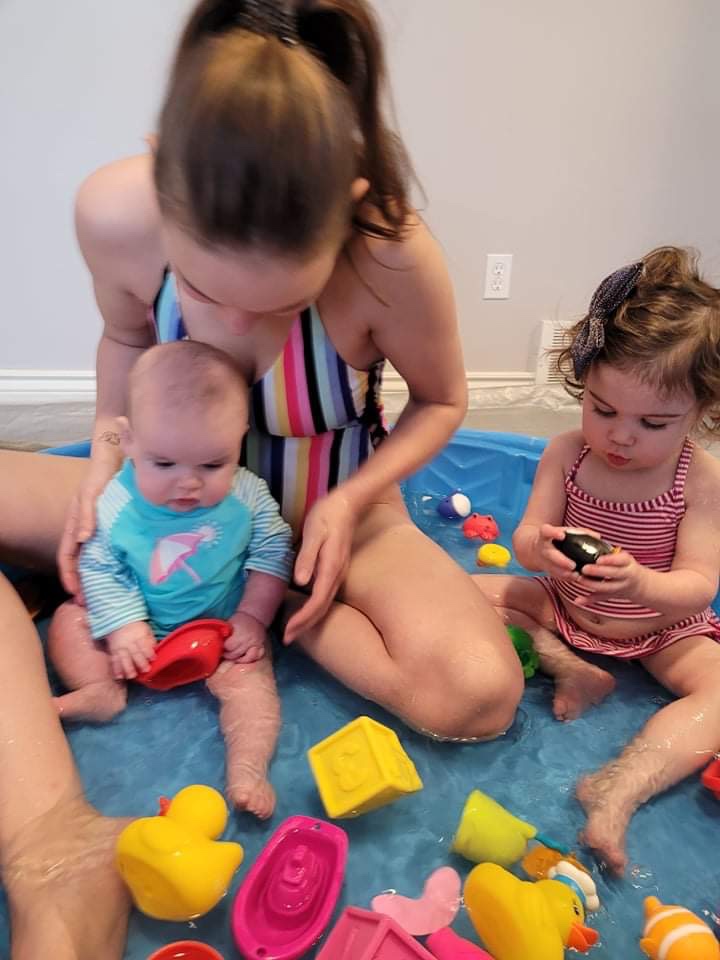
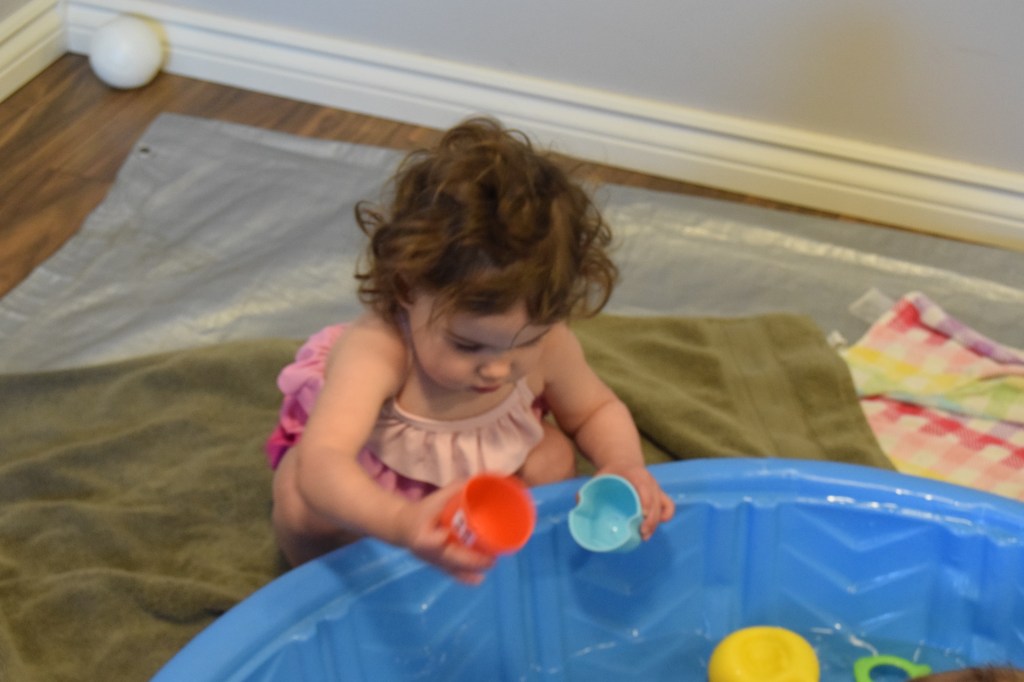
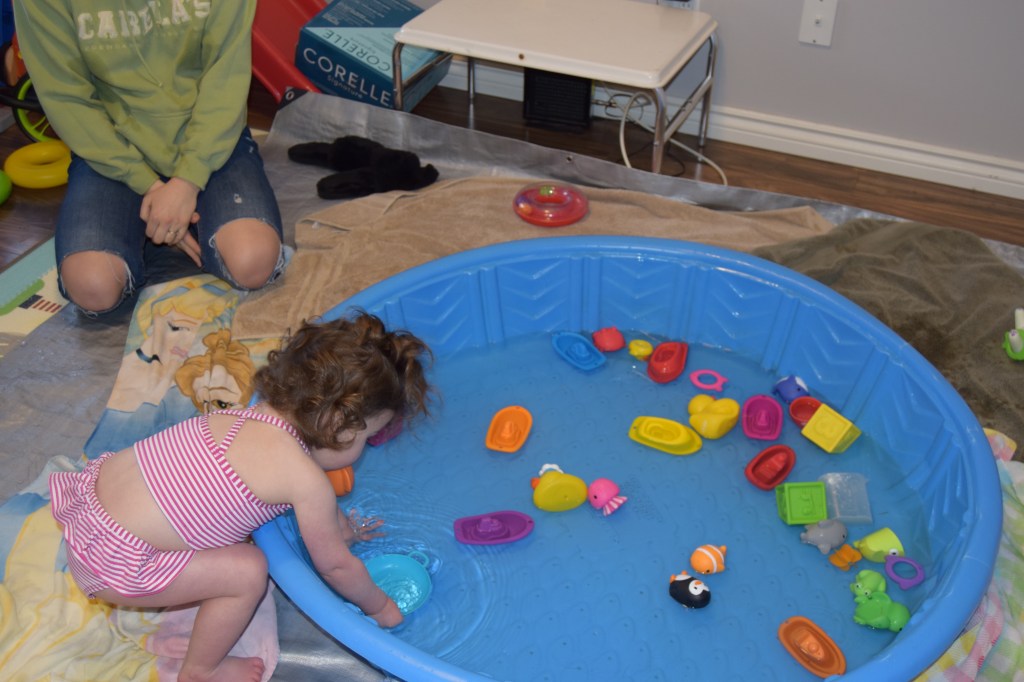
Today it was -25 outside. Winter is my favourite season but, I do love swimming! So I transformed the k’s playroom into a little pool party and invited a few of L. Friends. It was a blast super easy to set up and clean. You might think to yourself, a bath would work just as well. I would disagree! This was such a nice change of scenery, they got to choose if they wanted in or out of the water. L really enjoyed being out of the pool but getting to splash and play with her toys. Well her friend was in the pool splashing about having the time of his life!

Also super hard to take L and J to the pool by myself when Rian is working so next best thing 😜

Materials needed:

Kiddy pool

Water

Tarp

Lots of towels

Water toys

Big pot and large mug

Set up:

I put the tarp down just in case one of the dogs wanted to take a dip. Then I placed the pool down and placed towels around the pool. I went to the sink and put the tap on hot water. I filled the biggest pot I had in my kitchen about 5 times. Just enough to have a few inches to splash and play in. Added our toys and we had a blast!!

Taking down: After the kids were dressed I took the largest mug in my cupboard. Started scooping out all the water, took about 5 mins to get all the water out of the kiddy pool. Towels went straight to the wash and toys back to the bath!

Who doesn’t love family pool time!

Jello Sensory Activity

Hello Everyone!

Today I have a fun activity called Jell-O sensory

Time to set up: 10 mins to make. Let sit over night to harden.

Kids play time: L. And M. Was about 30 minutes the first time around.

Isn’t L. So cute here!!! She had so much fun taking apart and eating the jell-O!

What You Need:

-Jell-O (would of loved to find blue, but green was the next best option)

-Container

-Plastic Animals

-Rocks (optional)

Instructions:

1. Start by washing whatever items you were going to add to the Jell-O

2. Get your container of choice, then pour in Jell-O packet. Double check your Jell-O instructions (for this one it was one packet to one cup of hot water mix really well and then add in 1 cup of cold water and then mix thoroughly again).

3. After Jell-O is mixed go ahead and add in your rocks and your plastic animals we chose to do a sea theme here. Unfortunately I didn’t find any blue Jell-O so we went with the next best option of green.

I really wanted to have three layers so what I did was I put some stuff on the rocks put some on the bottom of the Jell-O and then put the Jell-O in the fridge, it was just about set. Then I added the pieces on the top as you see in the photo below. Let it sit overnight and then take it out whenever you’re ready to play with it!

It was such a fun Activity for the kids (L. Had a friend join us in this endeavour).

L. Started by poking all the Sea Creatures, then worked her way to the Jell-O. Took about 15 min till she started really digging in taking out the animals.

Quick Tip: A paper towel adds a great visual for where to place the items after they have been taken out. It will help with throwing or placing sticky toys directly on the table. A plate would also work. An example is shown below. 👇🏼