Our Cleaning Schedule

Hello everyone! I hope this helps anyone who’s looking for a simple schedule that can easily be changed to your preference.

Laundry: Every night before bed I put a load of laundry through, then one of the first things in the morning is changing the load over. Fold when I have a minute in the day. This keeps the laundry pill low or almost non existent.

General house cleaning: I made a list of chores that I spaced out throughout the week. Some days I get two “days” work in, others I miss days. I have it written out this way so I am able to have a bit of a schedule to myself.

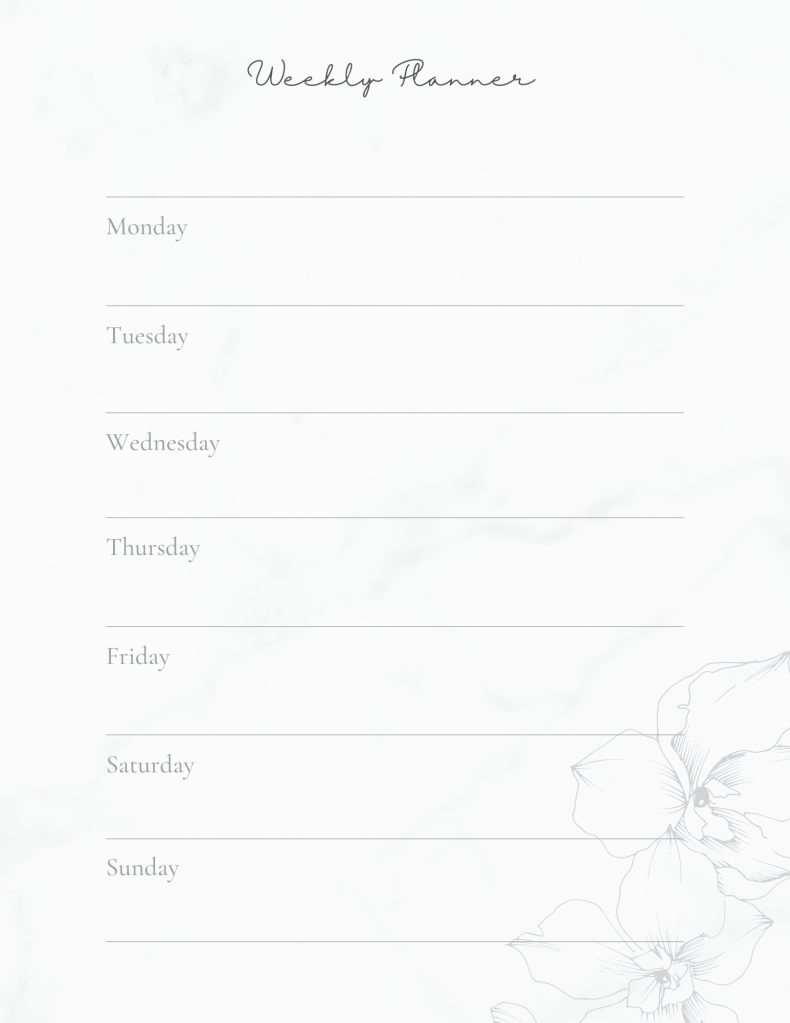
Monday: Upstairs – Tidy, Dust, Vacuum, strip all the beds to wash the bedding.

Tuesday: Bathrooms

Wednesday: Main floor – Tidy, Dust, Vacuum, Mop, Wash the windows

Thursday: Basement- Tidy, Dust, Vacuum.

Friday: Bathrooms

Saturday: Anything that needs to be done outside.

Sunday: Is family day, other then general everyday things we don’t clean the home.

Every day things:

Dishes are done before bed, laundry put away, quick 5 min tidy in each room. Kids clean up after they play before they move on to the next activity and if possible always take the time to put stuff away. I also try to find the time to vacuum the main floor at least every second day.

Monthly things:

Washing walls and doors in this home it’s a must with the dogs and toddlers.

Deep clean of the kitchen

Organize the pantry.

Go through all the kids clothes and see what fits and what can be given away.

This is what works for our family. It’s what I found works for the Kids schedules and mine. Bathrooms days are on days that we have lots of activity’s going on.

Let me know what you do or if you have any tricks/tips!

-Caitlin

Water play time

L working on her pouring skills

Today it was -25 outside. Winter is my favourite season but, I do love swimming! So I transformed the k’s playroom into a little pool party and invited a few of L. Friends. It was a blast super easy to set up and clean. You might think to yourself, a bath would work just as well. I would disagree! This was such a nice change of scenery, they got to choose if they wanted in or out of the water. L really enjoyed being out of the pool but getting to splash and play with her toys. Well her friend was in the pool splashing about having the time of his life!

Also super hard to take L and J to the pool by myself when Rian is working so next best thing 😜

Materials needed:

Kiddy pool

Water

Tarp

Lots of towels

Water toys

Big pot and large mug

Set up:

I put the tarp down just in case one of the dogs wanted to take a dip. Then I placed the pool down and placed towels around the pool. I went to the sink and put the tap on hot water. I filled the biggest pot I had in my kitchen about 5 times. Just enough to have a few inches to splash and play in. Added our toys and we had a blast!!

Taking down: After the kids were dressed I took the largest mug in my cupboard. Started scooping out all the water, took about 5 mins to get all the water out of the kiddy pool. Towels went straight to the wash and toys back to the bath!

Who doesn’t love family pool time!

Jello Sensory Activity

Hello Everyone!

Today I have a fun activity called Jell-O sensory

Time to set up: 10 mins to make. Let sit over night to harden.

Kids play time: L. And M. Was about 30 minutes the first time around.

Isn’t L. So cute here!!! She had so much fun taking apart and eating the jell-O!

What You Need:

-Jell-O (would of loved to find blue, but green was the next best option)

-Container

-Plastic Animals

-Rocks (optional)

Instructions:

1. Start by washing whatever items you were going to add to the Jell-O

2. Get your container of choice, then pour in Jell-O packet. Double check your Jell-O instructions (for this one it was one packet to one cup of hot water mix really well and then add in 1 cup of cold water and then mix thoroughly again).

3. After Jell-O is mixed go ahead and add in your rocks and your plastic animals we chose to do a sea theme here. Unfortunately I didn’t find any blue Jell-O so we went with the next best option of green.

I really wanted to have three layers so what I did was I put some stuff on the rocks put some on the bottom of the Jell-O and then put the Jell-O in the fridge, it was just about set. Then I added the pieces on the top as you see in the photo below. Let it sit overnight and then take it out whenever you’re ready to play with it!

It was such a fun Activity for the kids (L. Had a friend join us in this endeavour).

L. Started by poking all the Sea Creatures, then worked her way to the Jell-O. Took about 15 min till she started really digging in taking out the animals.

Quick Tip: A paper towel adds a great visual for where to place the items after they have been taken out. It will help with throwing or placing sticky toys directly on the table. A plate would also work. An example is shown below. 👇🏼

Hello Friends!

My name is Caitlin, I have a wonderful husband named Rian. Together we have 2 cute kiddos, L. is our first born she is two and J. our second He is 5 month old. We also have two high energy German Shepards. Thor and Echo who are 3 years old. Things get crazy in this Fleming household! I love to say that we have 4 toddlers and a “big kid” (my husband).

We are a big skating family who love Hockey and Ringette. We enjoy being in our backyard or camping in the summer. Winter is by far my favourite season for sports and activities.

We are so excited to have you friends and to get to know you and you know us in this journey of life.

My goal is to be a space of joy and encouragement in your lives. We will have lots of activity’s to do with your kids. Ways to help them learn at home, recipes, tips/tricks. My attempted garden every year 😆 (I try) and much more. I post multiple times a week on instagram and here on my blog .

Please feel free to reach out to me about and questions you have, I would love to answer them!

Good Bye for now, God bless.

Love the Flemings