Hello Everyone!
Today I have a fun activity called Jell-O sensory
Time to set up: 10 mins to make. Let sit over night to harden.
Kids play time: L. And M. Was about 30 minutes the first time around.
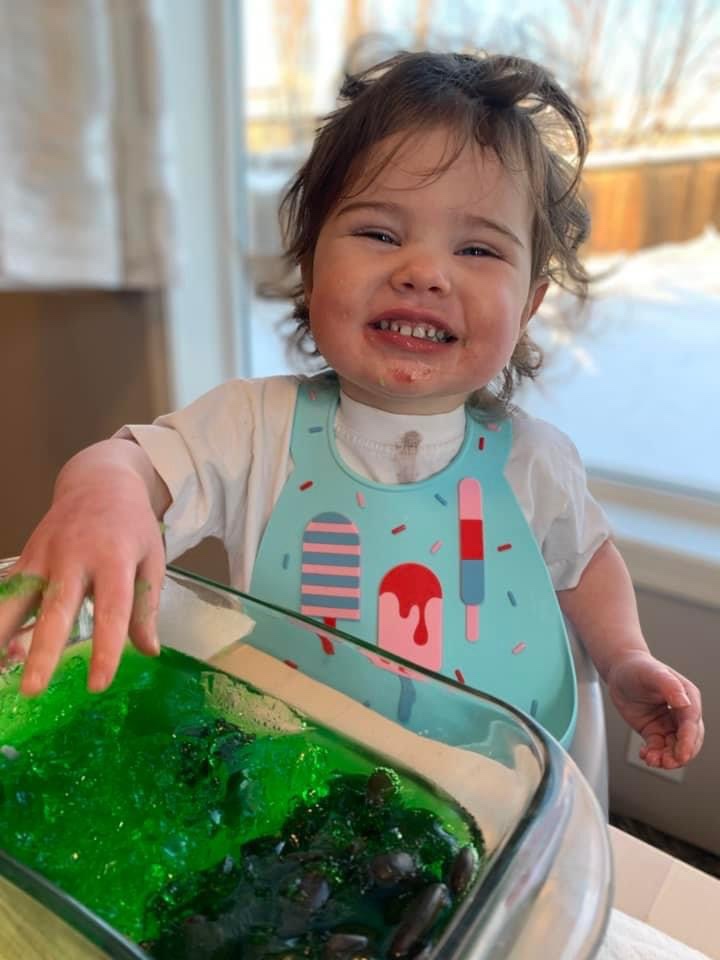
Isn’t L. So cute here!!! She had so much fun taking apart and eating the jell-O!
What You Need:
-Jell-O (would of loved to find blue, but green was the next best option)
-Container
-Plastic Animals
-Rocks (optional)
Instructions:
1. Start by washing whatever items you were going to add to the Jell-O
2. Get your container of choice, then pour in Jell-O packet. Double check your Jell-O instructions (for this one it was one packet to one cup of hot water mix really well and then add in 1 cup of cold water and then mix thoroughly again).
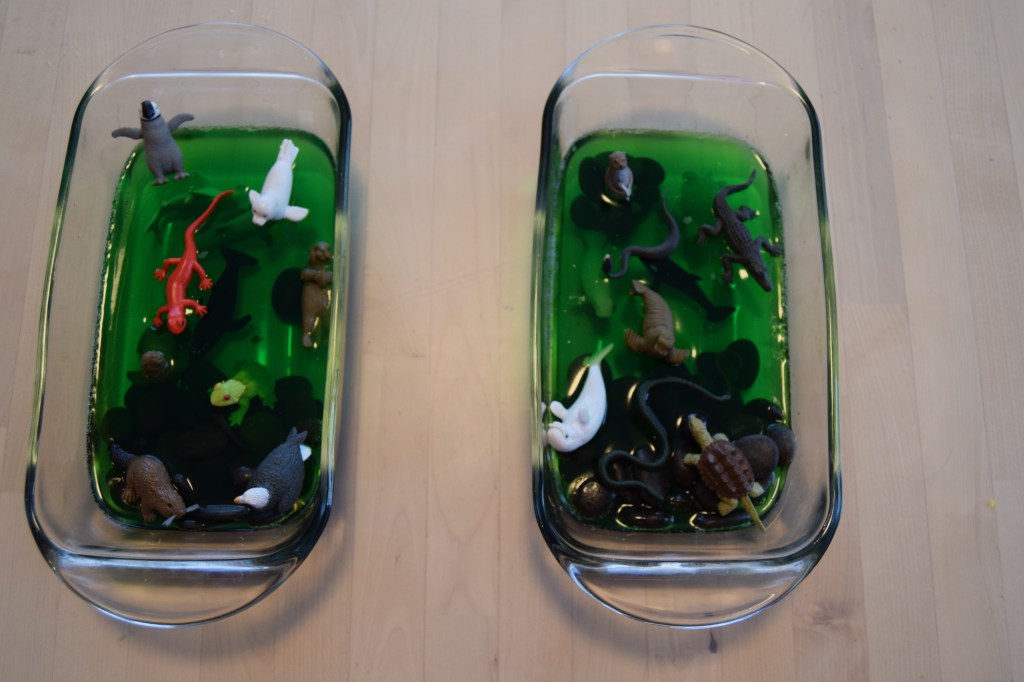
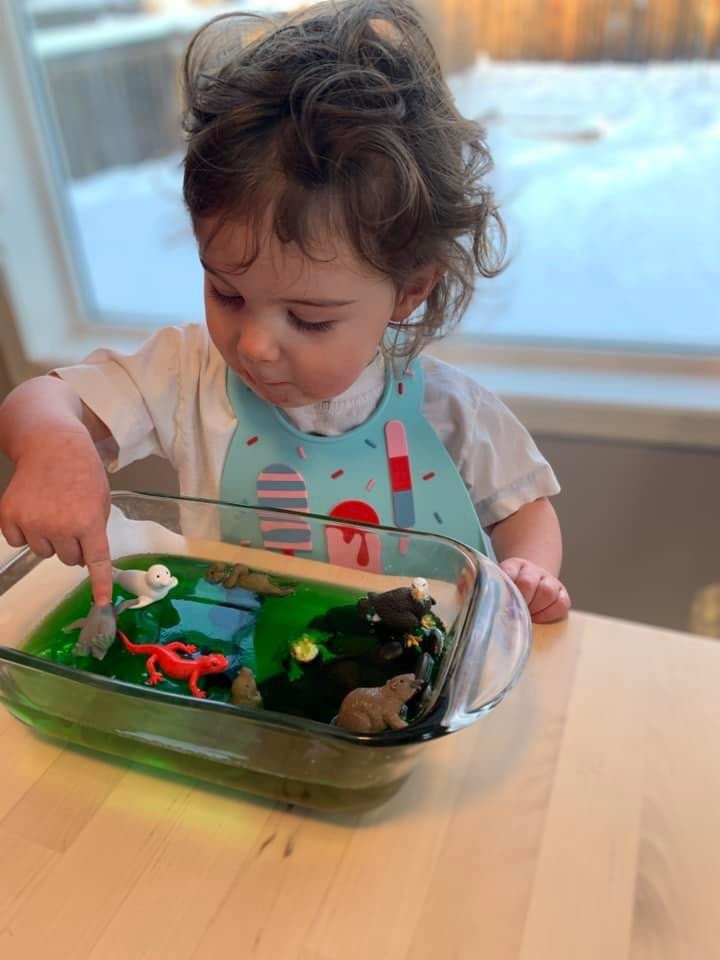
3. After Jell-O is mixed go ahead and add in your rocks and your plastic animals we chose to do a sea theme here. Unfortunately I didn’t find any blue Jell-O so we went with the next best option of green.
I really wanted to have three layers so what I did was I put some stuff on the rocks put some on the bottom of the Jell-O and then put the Jell-O in the fridge, it was just about set. Then I added the pieces on the top as you see in the photo below. Let it sit overnight and then take it out whenever you’re ready to play with it!
It was such a fun Activity for the kids (L. Had a friend join us in this endeavour).
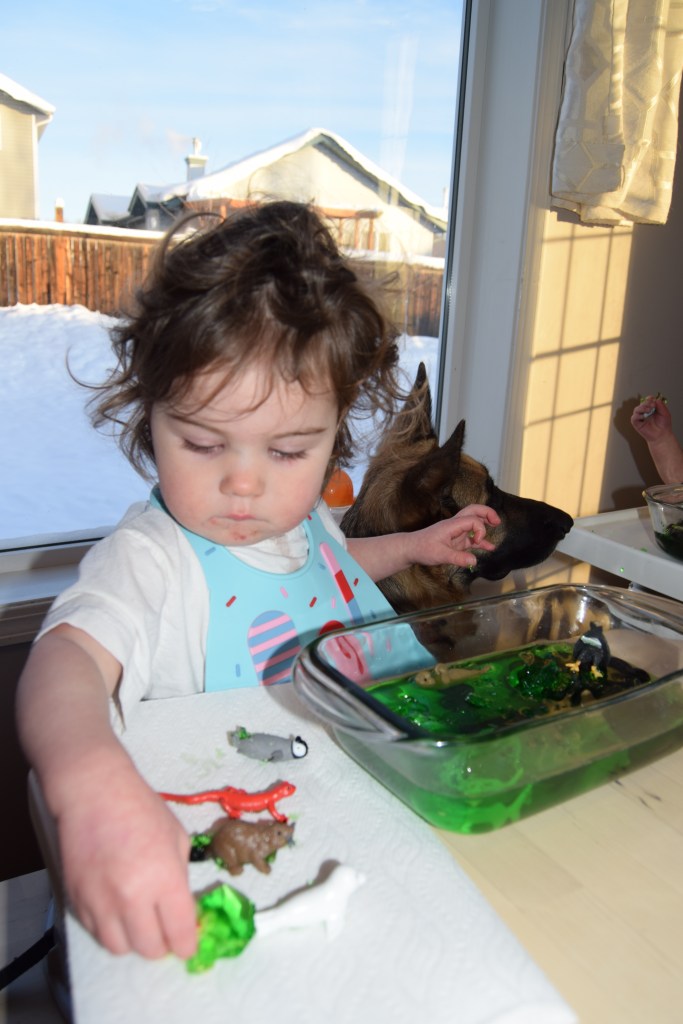
Quick Tip: A paper towel adds a great visual for where to place the items after they have been taken out. It will help with throwing or placing sticky toys directly on the table. A plate would also work. An example is shown below. 👇🏼